10 Cheap front yard landscaping ideas
Introduction
Cheap front yard landscaping ideas can transform a plain curb into a welcoming entrance without draining your wallet. By focusing on simple, cost‑effective garden plans, homeowners and renters can create a fresh look that feels personalized and inviting.
This article will walk you through practical, budget landscaping ideas that you can tackle yourself. From choosing native plants to using mulch, gravel, and potted plants, you’ll find step‑by‑step guidance and inspiration for an affordable yard makeover that suits any style.
1. Start with a Clear Vision: Planning Your Budget Landscape
1.1 Define Your Style and Needs
Begin by listing the functions you want in the front yard, such as a welcoming entry, a low‑maintenance patio, or a small planting bed. Identify the design style that fits your home, whether it’s modern, cottage, or tropical. This focus keeps spending on features that truly matter and prevents costly additions that won’t be used.
1.2 Create a Simple Site Map
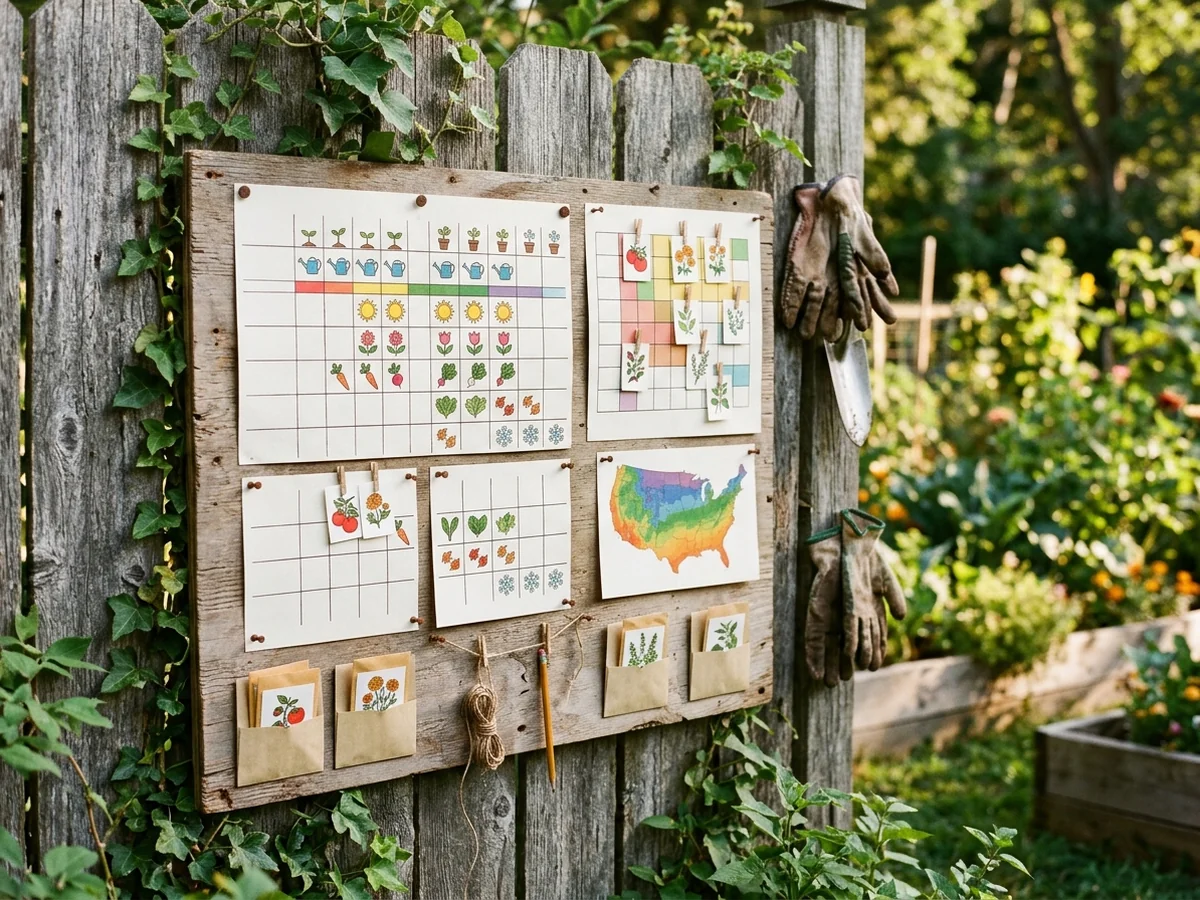
Sketch the yard on paper or a digital tool, marking fixed elements like driveways, existing trees, and footpaths. Highlight areas that need improvement, spots with erosion, bare soil, or uneven grading. A clear map helps you allocate budget to the most impactful spots and avoid spending on redundant landscaping work.
2. Embrace Native Plants for Low‑Maintenance Beauty
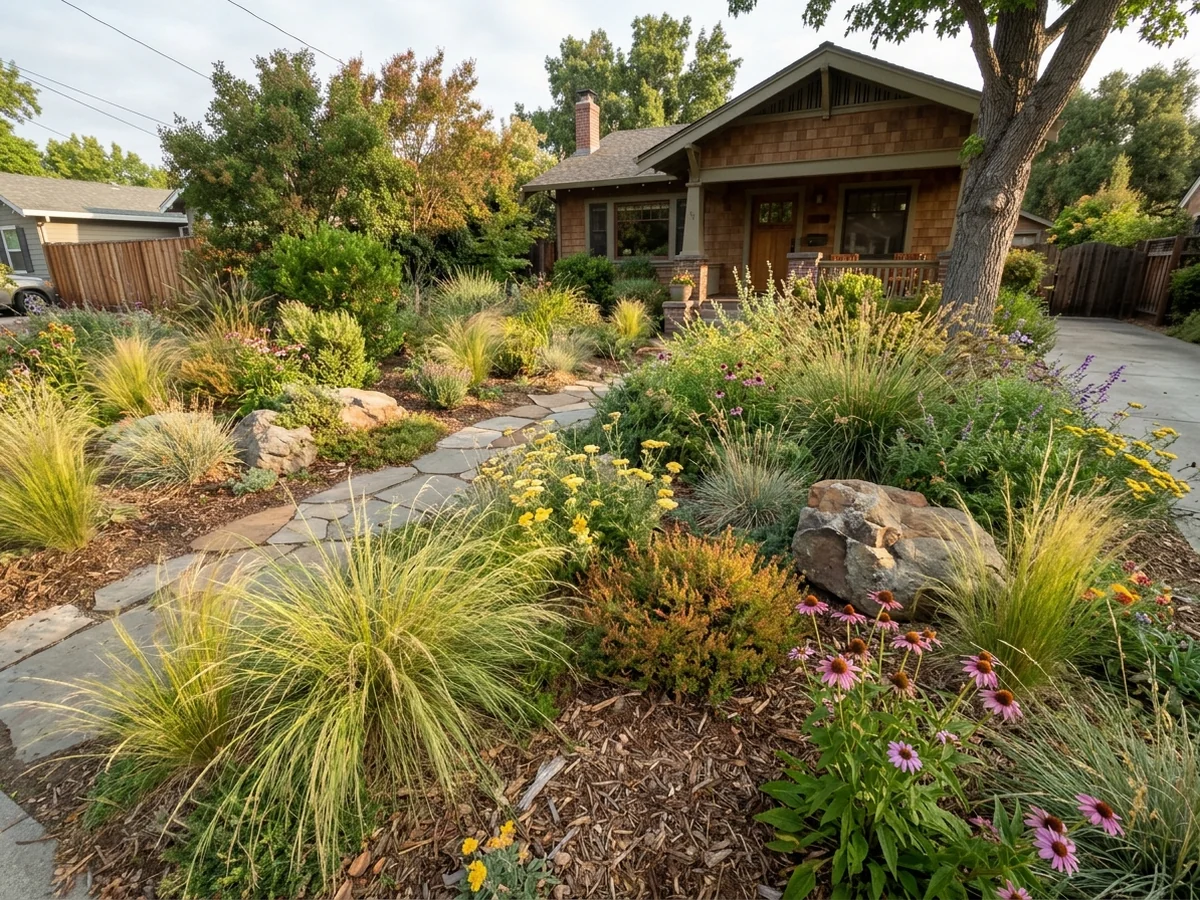
When planning a cheap front yard landscaping idea, selecting plants that naturally thrive in your local climate is a smart first step. Native species are already attuned to the region’s soil, temperature, and rainfall patterns, which means they usually need less water, fertilizer, and pest control. This not only saves money but also creates a healthier environment for local pollinators.
2.1 Why Native Plants Work Best on a Budget
Using native plants reduces ongoing expenses in several ways:
- They absorb local water efficiently, cutting irrigation costs.
- Their deep, extensive root systems help stabilize soil, lowering the need for erosion control measures.
- Because they are adapted to local pests and diseases, they often require fewer chemical treatments.
- Their seasonal color changes provide a natural, year‑round visual interest without the need for frequent replacement.
These benefits align with cost‑effective garden plans and help you achieve a low‑maintenance front yard makeover.
2.2 Practical Steps to Select and Plant Locally
Begin by determining your USDA hardiness zone and soil type. Local extension services and state garden guides list species that match those conditions. When choosing plants, keep the following in mind:
- Pick drought‑tolerant perennials that keep color with minimal watering.
- Group plants with similar light and moisture needs to simplify care.
- Incorporate ground covers to suppress weeds and conserve soil moisture.
- Choose shrubs that offer structural interest while remaining low‑maintenance.
For a DIY front yard design, consider arranging plants in raised beds or using mulch to reduce weed growth and retain moisture. Adding solar lighting can highlight focal points without increasing energy costs.
2.3 Common Mistakes to Avoid
Even with native plants, some pitfalls can inflate costs:
- Planting too densely can lead to competition for resources, resulting in weaker growth and higher maintenance.
- Choosing plants that are not truly native to your exact area may still require extra watering or pest control.
- Neglecting to mulch after planting can cause rapid soil moisture loss and weed competition.
By staying informed through reliable sources such as USDA and EPA guidelines, you can sidestep these issues and keep your front yard both beautiful and budget‑friendly.
3. Layered Mulch Design: A Budget‑Friendly Texture Strategy
3.1 Why Layer Mulch?
Layering mulch creates visual depth while protecting soil, a core principle of cheap front yard landscaping ideas. The base layer blocks weeds and reduces moisture loss, which means less watering and fewer herbicide purchases. The top organic layer breaks down slowly, returning nutrients to the soil and improving its structure. This combination lets homeowners enjoy a tidy appearance and healthier plant growth without costly hardscape installations.
3.2 Choosing Materials and Managing Costs
Start with inexpensive inorganic options such as clean gravel or recycled rubber pieces. These materials are widely available at home‑center bulk bins and provide a durable foundation for high‑traffic zones like walkways. For the upper layer, select locally sourced organic mulches, shredded bark, straw, pine needles or composted leaf material. Because they are often a by‑product of yard work, they keep expenses low and align with DIY front yard design goals. Pairing these choices with native plants further reduces water needs, a recommendation supported by the USDA.
3.3 Step‑by‑Step Application
- Clear the area of debris and existing weeds.
- Lay a thin sheet of landscape fabric or a few inches of gravel to form a stable, weed‑suppressing base.
- Spread a 2‑to‑3‑inch layer of organic mulch over the base, overlapping edges by a few inches to avoid visible seams.
- Gently rake the surface to create an even texture; this also helps the mulch settle into a uniform depth.
- Edge the mulch with a low border of stones or reclaimed wood to keep it in place and add a finished look.
3.4 Common Mistakes and How to Avoid Them
One frequent error is applying mulch too deeply. Excessive depth can trap moisture, leading to root rot and attracting pests. Stick to the recommended 2‑to‑3‑inch range for most garden beds. Another pitfall is mixing organic and inorganic layers without a barrier; this allows weeds to push through the base. Always include a fabric or gravel layer before the organic mulch. Finally, neglecting to replenish the top layer each season reduces the visual appeal and nutrient contribution, plan a quick refresh in the spring.
3.5 Enhancing the Design
Combine layered mulch with inexpensive hardscape touches such as a few solar lighting fixtures or a modest raised‑bed frame made from reclaimed pallets. These elements reinforce the affordable yard makeover theme and add functional interest without inflating the budget.
4. Gravel Borders and Pathways: Hardscape on a Budget

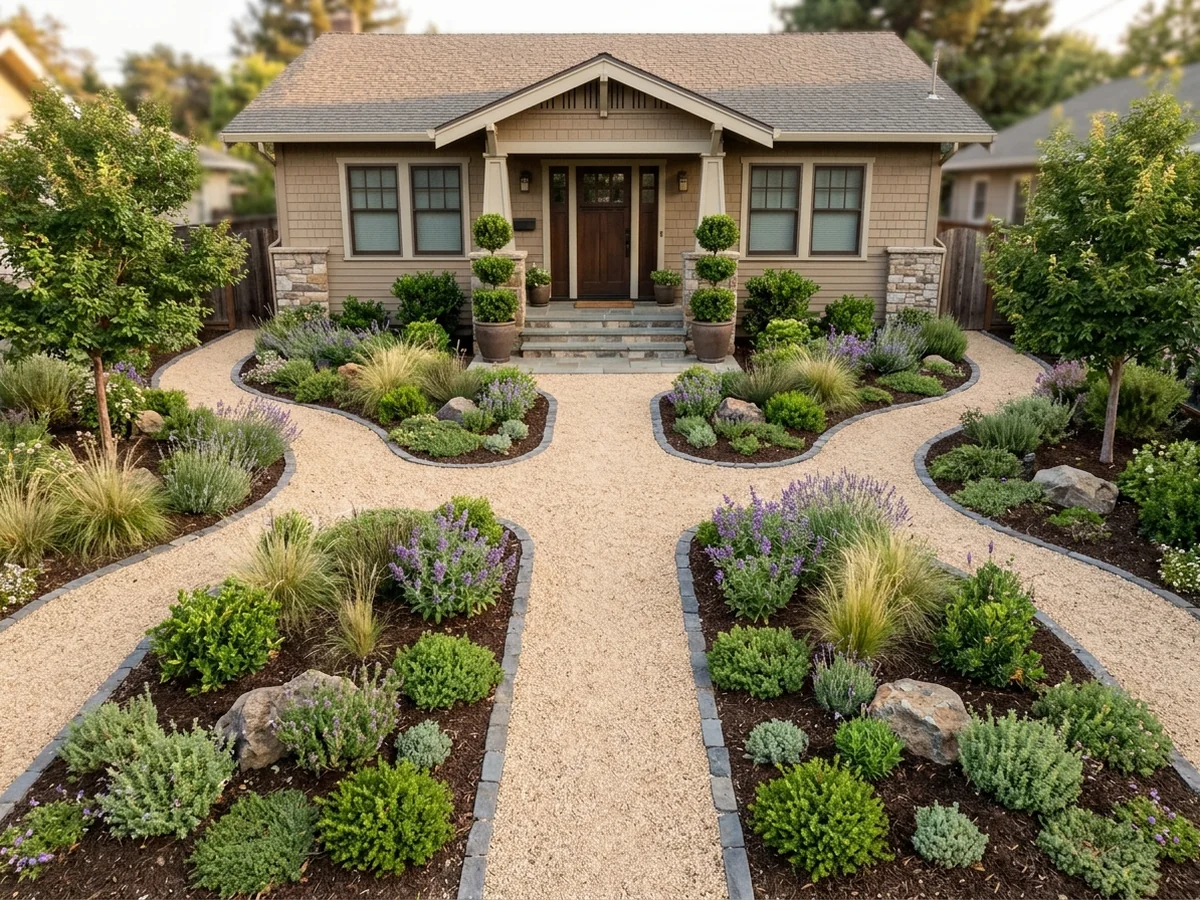
Gravel creates clear visual lines and separates planting zones without the cost of poured concrete or stone pavers. By laying a simple layer of stone, you can define a walkway, garden edge, or seating area while keeping the overall look tidy and low‑maintenance.
4.1 Choosing Gravel Sizes and Colors
Select a uniform size such as ½‑inch pea gravel for a smooth, even surface that’s easy to walk on. Larger, angular stones work well for decorative borders because they lock together and stay in place. Light‑gray or tan hues blend with most plant palettes, while darker tones add contrast if you prefer a more dramatic effect. Consider a color that matches nearby hardscape elements to create a cohesive look.
4.2 DIY Gravel Installation Steps
Start by measuring the area and marking the intended edge with string or a garden hose. Excavate a shallow trench about 2‑3 inches deep, widening it slightly beyond the final width to allow for a compacted base. Lay a layer of landscape fabric to suppress weeds, then spread a 1‑inch layer of crushed stone as a base and compact it with a hand tamper. Add the chosen gravel on top, spreading it evenly and raking it smooth. Finish by edging the perimeter with metal or plastic stakes to keep the material contained.
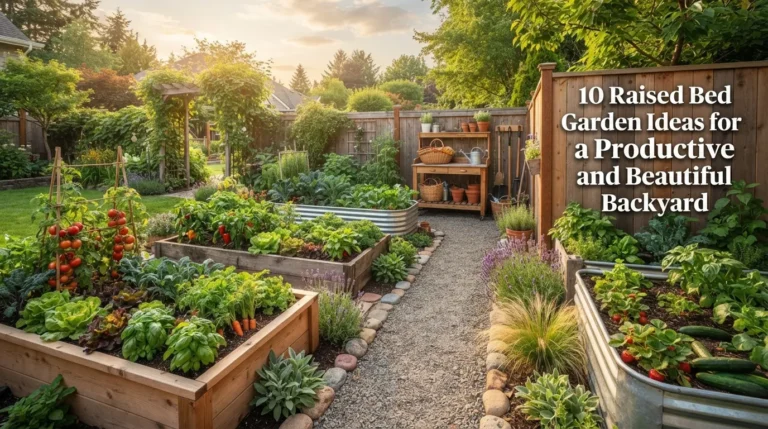
5. Raised Beds Made from Recycled Materials

5.1 Why Choose Recycled Wood for Raised Beds
Recycled pallets and crates provide a low‑cost base for raised beds, which can improve soil quality and reduce maintenance compared with bare ground. Because the wood is already split and weathered, it tends to break down more slowly, keeping the bed structure stable for several seasons. Using reclaimed material also gives the front yard a rustic, eco‑friendly look that can complement a budget landscaping plan.
5.2 How to Source and Prepare the Materials
Search local hardware stores, warehouses, or online marketplaces for pallets that are marked “no chemical treatment.” Once you have the pieces, clean each surface with a brush and mild detergent to remove dust and debris. Sand edges lightly to prevent splinters that could harm plants or lawn equipment. After cleaning, arrange the boards into a rectangular frame that fits the desired bed size. If the pallets are uneven, add a small strip of new lumber or a metal bracket for extra support. Finish the frame with a clear, non‑toxic, weather‑safe sealant to protect the wood from moisture while keeping the treatment safe for plants.
5.3 Building the Bed and Filling It Properly
Lay a layer of organic mulch or landscape fabric along the bed’s interior to keep weeds at bay and retain moisture. Fill the bed with a balanced mix of topsoil, compost, and well‑aged manure. This combination supplies nutrients and improves drainage. When the bed is filled to the top, spread a thin layer of mulch over the soil surface to further lock in moisture.
5.4 Planting Tips for a Low‑Maintenance Front Yard
Choose native or drought‑tolerant species that thrive in your climate; these plants require less watering and fertilizing. Arrange taller varieties at the back or center of the bed and shorter ones in front or at the edges to create depth without extra cost. Group plants with similar water and light needs to reduce the time spent on care. Adding a drip irrigation line or soaker hose can keep the bed watered efficiently, saving water and labor.
5.5 Common Mistakes to Avoid
- Using pallets treated with chemicals can leach toxins into the soil; always verify that the wood is untreated.
- Overfilling the bed can cause water to sit at the bottom, leading to root rot; leave a small gap at the top.
- Neglecting to secure the frame can result in wobbling or collapse under heavy rain; reinforce corners with brackets if needed.
- Planting too many species in one bed increases competition for nutrients and light; keep plant density moderate.
By repurposing recycled wood into raised beds, you can create a charming, cost‑effective garden area that enhances the appeal of a cheap front yard landscaping idea while keeping maintenance low.
6. Potted Plants and Containers: Flexible Front Yard Accents
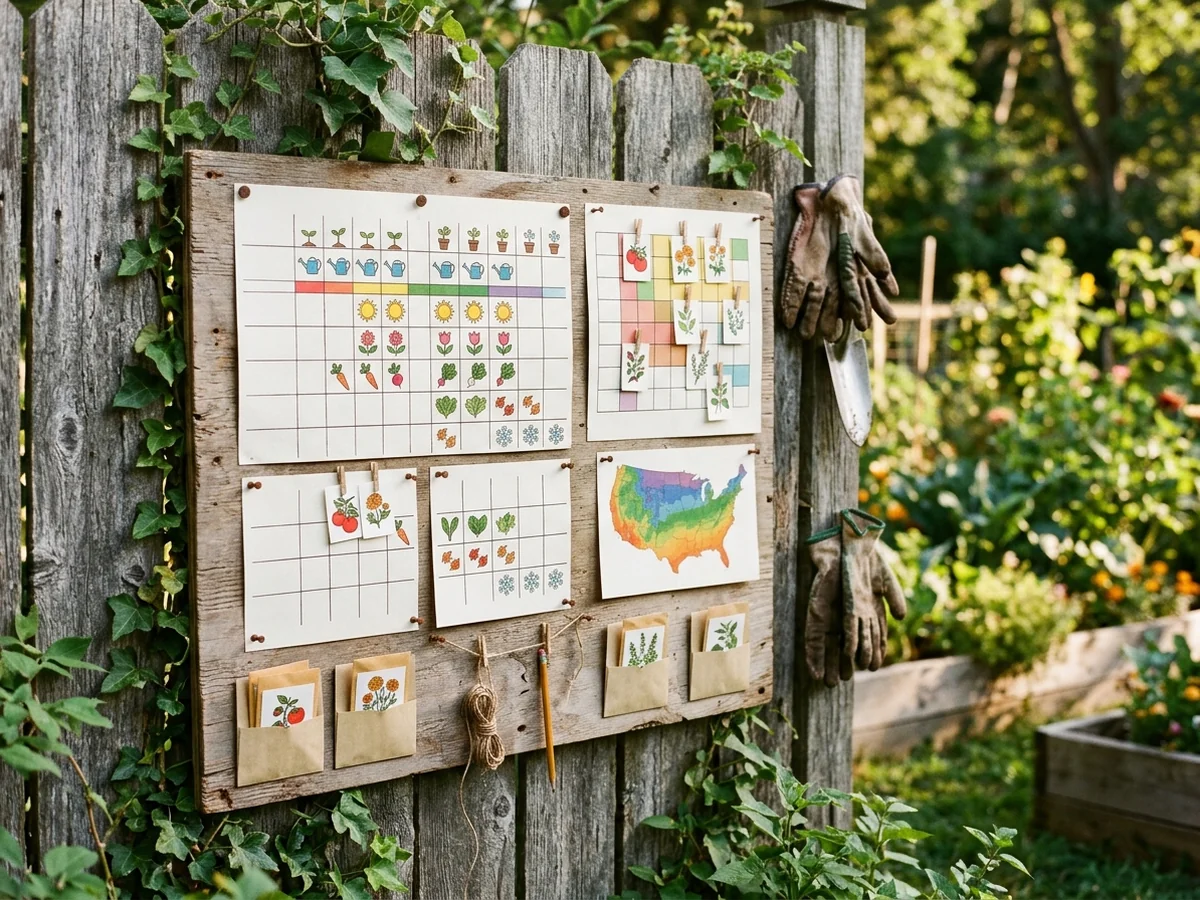
Reusable pots, upcycled containers, and thoughtful plant placement give a fresh look without a big budget. Choosing sturdy, weather‑proof containers that can be moved allows you to adjust the layout as seasons change, keeping the yard lively.
6.1 Selecting Budget Containers
Look for materials that resist cracking and rust, such as recycled plastic or treated wood. Repurposing old buckets, tin cans, or even large flower pots can cut costs while adding character. When selecting a container, consider its size relative to the plant: a pot that is too small can stress the plant, while one that is too large may look disproportionate. Choosing a neutral color or a simple pattern keeps the focus on the greenery.
6.2 Planting Ideas for Seasonal Appeal
Plant a mix of perennials that bloom at different times and a few annuals that bring quick color. Rotate annuals each spring so the yard never looks stale. Add a ground cover that thrives in the local climate to reduce maintenance. When a plant reaches its peak, swap it for another that will flourish in the next season, keeping the display fresh and engaging. This seasonal rotation helps maintain a vibrant front yard throughout the year.
7. Solar Lighting for Nighttime Charm
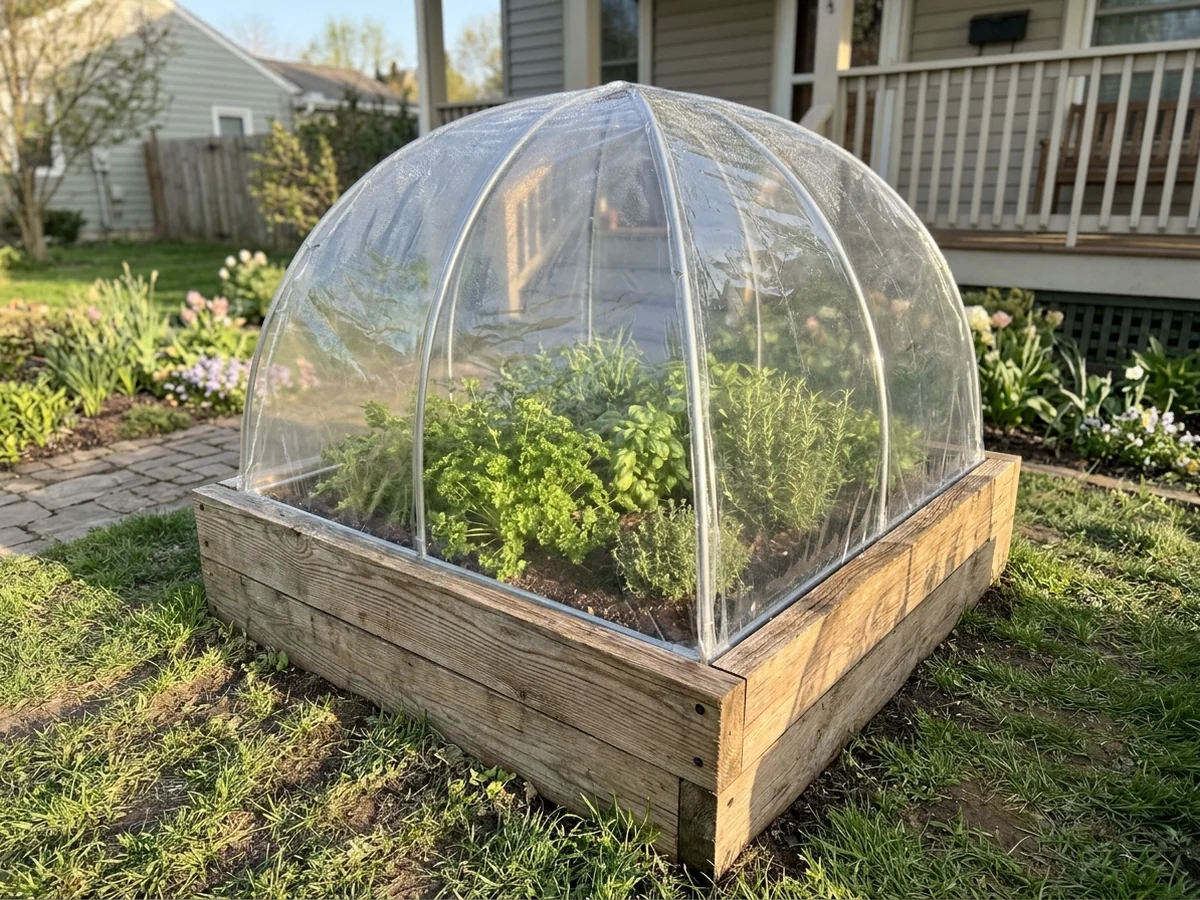
Solar lighting lets you illuminate walkways and planting beds without adding to your electric bill, because the fixtures charge during daylight and run off stored energy after dark.
7.1 Types of Solar Lights
Path lights with small stakes are perfect for edging a stone walkway; they sit low to the ground and create a gentle line of light. Spotlights that mount on a post or wall can be aimed at a focal plant or decorative element, adding drama after sunset. String lights with solar panels are easy to drape over a fence or pergola, giving a festive glow without any wiring.
7.2 Placement for Safety and Style
Position path lights about a foot apart along the edges of any foot traffic route; this spacing provides consistent illumination while keeping the fixtures out of the way of shoes. Install spotlights a few feet from a raised‑bed border to highlight texture and color without washing out the plants. Hang string lights at a height that clears low‑lying shrubs but stays within reach of the solar panel, ensuring they capture enough sun while casting a warm canopy over seating areas.
8. DIY Garden Features That Wow on a Shoestring

8.1 Build a Simple Water Feature
Adding a small self‑watering fountain brings movement and sound without demanding much maintenance.
- Choose a shallow, weather‑resistant basin such as a decorative plastic bowl or a repurposed stone.
- Place a submersible pump at the bottom, connecting it to a short hose that loops back to the basin’s edge.
- Arrange smooth river rocks around the pump to hide tubing and create a natural cascade.
- Fill the basin with water, turn on the pump, and adjust the flow until the water drips gently over the rocks.
- Cover the pump with a waterproof cover when not in use to prevent debris buildup.
8.2 Create a Low‑Maintenance Rock Garden
A pebble layout provides visual interest while requiring little watering or pruning.
- Clear a 2‑by‑3‑foot area of weeds and level the soil with a garden rake.
- Lay down a weed‑blocking fabric to reduce future upkeep.
- Spread a layer of coarse gravel or river stones, smoothing it with a board.
- Arrange a few hardy, drought‑tolerant plants such as sedum or ornamental grasses among the stones for color.
- Apply a thin mulch of shredded bark around the plants to conserve moisture and keep weeds at bay.
9. Maintenance Hacks to Keep Your Yard Looking Fresh
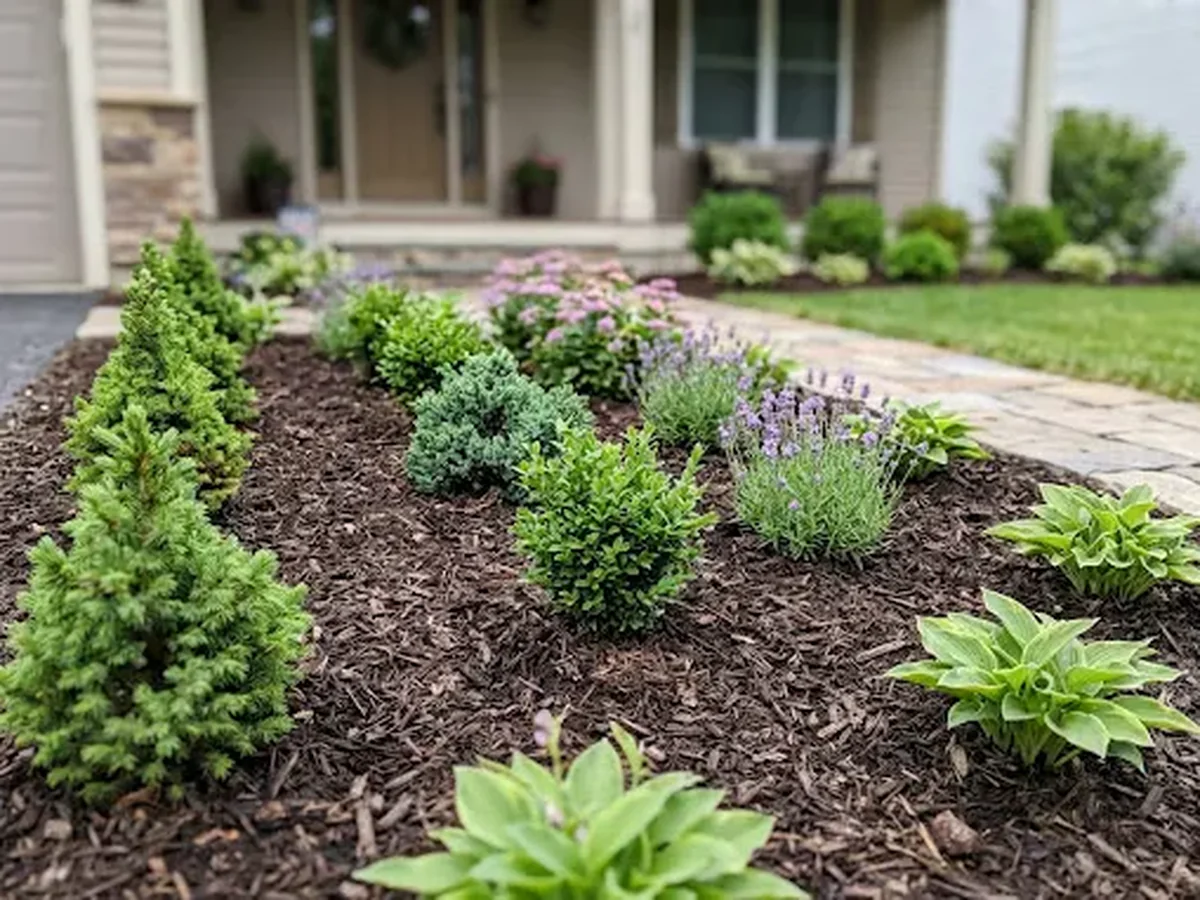
9.1 Seasonal Cleaning Checklist
Start each season with a quick walk‑through to spot dead foliage, loose mulch, and any broken edging. Removing debris in the fall prevents mold buildup, while a spring sweep clears away winter leaf litter that can smother new growth.
- Rake leaves and thin out grass clippings to improve air flow.
- Refresh mulch to a depth of 2, 3 inches to retain moisture and suppress weeds.
- Inspect hardscape for cracks; fill gaps with sand or gravel to avoid water pooling.
- Prune back overgrown shrubs, keeping shapes tidy and encouraging healthy shoots.
After the list, give the soil a gentle aeration with a garden fork or a manual aerator. This simple step loosens compacted earth, allowing roots to access water and nutrients more efficiently, which reduces the chance of costly lawn repairs later.
9.2 Water‑Saving Irrigation Tips
Adjust sprinkler heads so they water only the planted area, avoiding sidewalks and driveways. A quick test, place a few newspapers on the lawn while the system runs; any wet spots beyond the paper indicate overspray that can be trimmed back.
Install a rain sensor or timer that pauses watering after a recent rain event. Even a light shower can provide enough moisture for a day or two, cutting water use without harming plants.
Group plants with similar water needs together and use drip tubing or soaker hoses for those beds. This delivers water directly to the root zone, reducing evaporation and keeping the rest of the yard drier.
10. Putting It Together: A Sample Low‑Cost Front Yard Plan
Why start with a simple layout? A clear rectangle that follows the curb line helps you see how hardscape and plant areas will interact, prevents overcrowding, and makes budgeting easier. Begin by drawing the perimeter on paper or with a free design app, then mark the main traffic route from the sidewalk to the front door. This pathway should be wide enough for two people to pass comfortably and can be created with inexpensive gravel or reclaimed pavers.
Practical steps
- Lay a narrow gravel path (4‑6 inches wide) using a compacted base of crushed stone. This provides drainage and reduces weed growth.
- Leave a two‑foot buffer on each side of the path for low‑maintenance native plants such as native grasses or drought‑tolerant perennials. Group plants in odd numbers for a natural look.
- Install a small raised bed at the corner opposite the driveway. Fill it with a mix of compost and coarse sand, then plant herbs or a few compact shrubs. Raised beds keep soil quality high and simplify watering.
- Position two to three large potted plants near the entry. Choose containers that match the home’s style; fill them with a blend of mulch and potting soil to retain moisture.
- Add solar lighting along the path and at the raised‑bed edge. Solar fixtures require no wiring and charge during daylight, keeping energy costs low.
- Finish with a mulch border around the plant beds. Mulch suppresses weeds, conserves moisture, and gives the yard a tidy appearance.
Typical budgeting guidance
When planning a modest project, allocate a larger portion of the budget to hardscape items such as gravel, pavers and edging, a substantial share to plants, especially inexpensive native species and a few containers, and reserve part of the budget for labour. DIY installation, borrowing tools from a neighbor, or watching free online tutorials can further reduce labour costs.
Common mistakes to avoid
- Choosing plants that need heavy watering in a region with limited rainfall; native selections usually require less care.
- Over‑filling the path with decorative stone without a stable base, which can lead to shifting and uneven surfaces.
- Neglecting to leave enough space for future growth; give each plant room to spread to prevent crowding.
- Installing lighting without checking sun exposure; solar lights work best where they receive several hours of direct light each day.
Adjust the allocation based on local material prices and personal skill level, but keep the overall balance between hardscape, vegetation and the effort required to set everything up. For more ideas, explore the gardening and landscaping ideas page.
Frequently Asked Questions
What is the best time of year to start a budget landscaping project?
Early spring or early fall are ideal because soil temperatures are moderate, allowing plants to establish before extreme heat or cold. These seasons also tend to offer lower prices on mulch, gravel and other materials.
How can I keep a cheap lawn looking healthy?
Regular mowing at the proper height, light fertilizing with a slow‑release product, and occasional overseeding keep a low‑cost lawn vigorous. Water deeply but infrequently to encourage deep root growth.
Can I use the same design for a rental property?
Yes, a simple layout with removable elements like potted plants, modular raised beds and portable solar lighting works well in rentals. Such features can be taken down when the lease ends without harming the property.
What are the most water‑efficient plant choices?
Native grasses, drought‑tolerant succulents and low‑maintenance perennials such as lavender, sedum and yarrow use the least water. Selecting plants adapted to your climate reduces irrigation needs dramatically.
Do I need professional help for gravel installation?
Professional help isn’t required for a basic gravel pathway; a shovel, wheelbarrow and a plate compactor are enough for a DIY front yard design. Just prepare a level base, lay landscape fabric, and spread the gravel evenly.
Conclusion
Creating an affordable front yard is all about choosing a few high impact ideas and letting them grow over time. Start with a simple element such as a mulch bed or a row of native plants, then add inexpensive hardscape pieces like gravel pathways or solar lights as your budget allows. By focusing on cost effective garden plans and taking a hands on approach to your landscaping projects, you can gradually shape a welcoming entrance without overspending. Embrace the flexibility of cheap front yard landscaping ideas and watch your curb appeal improve step by step.
You might also like: 10 Privacy Fence Ideas on a Budget That Look Stylish